Water damage restoration is a sequence, not one machine or one visit. The source must be controlled, water removed, the affected materials understood, and drying verified before cleaning and repair can be completed responsibly.
The details change with every building, but the decision points are consistent.
General guidance cannot clear an unsafe property. Stay away from energized water, sewage, moving floodwater, and sagging materials.
Step 1: emergency contact and safety screening
The first conversation identifies the address, source if known, rooms affected, water depth, electricity, ceiling conditions, and potential sewage. That information guides safe access and whether plumbing, roofing, utilities, or emergency services are also needed.
Step 2: source control and inspection
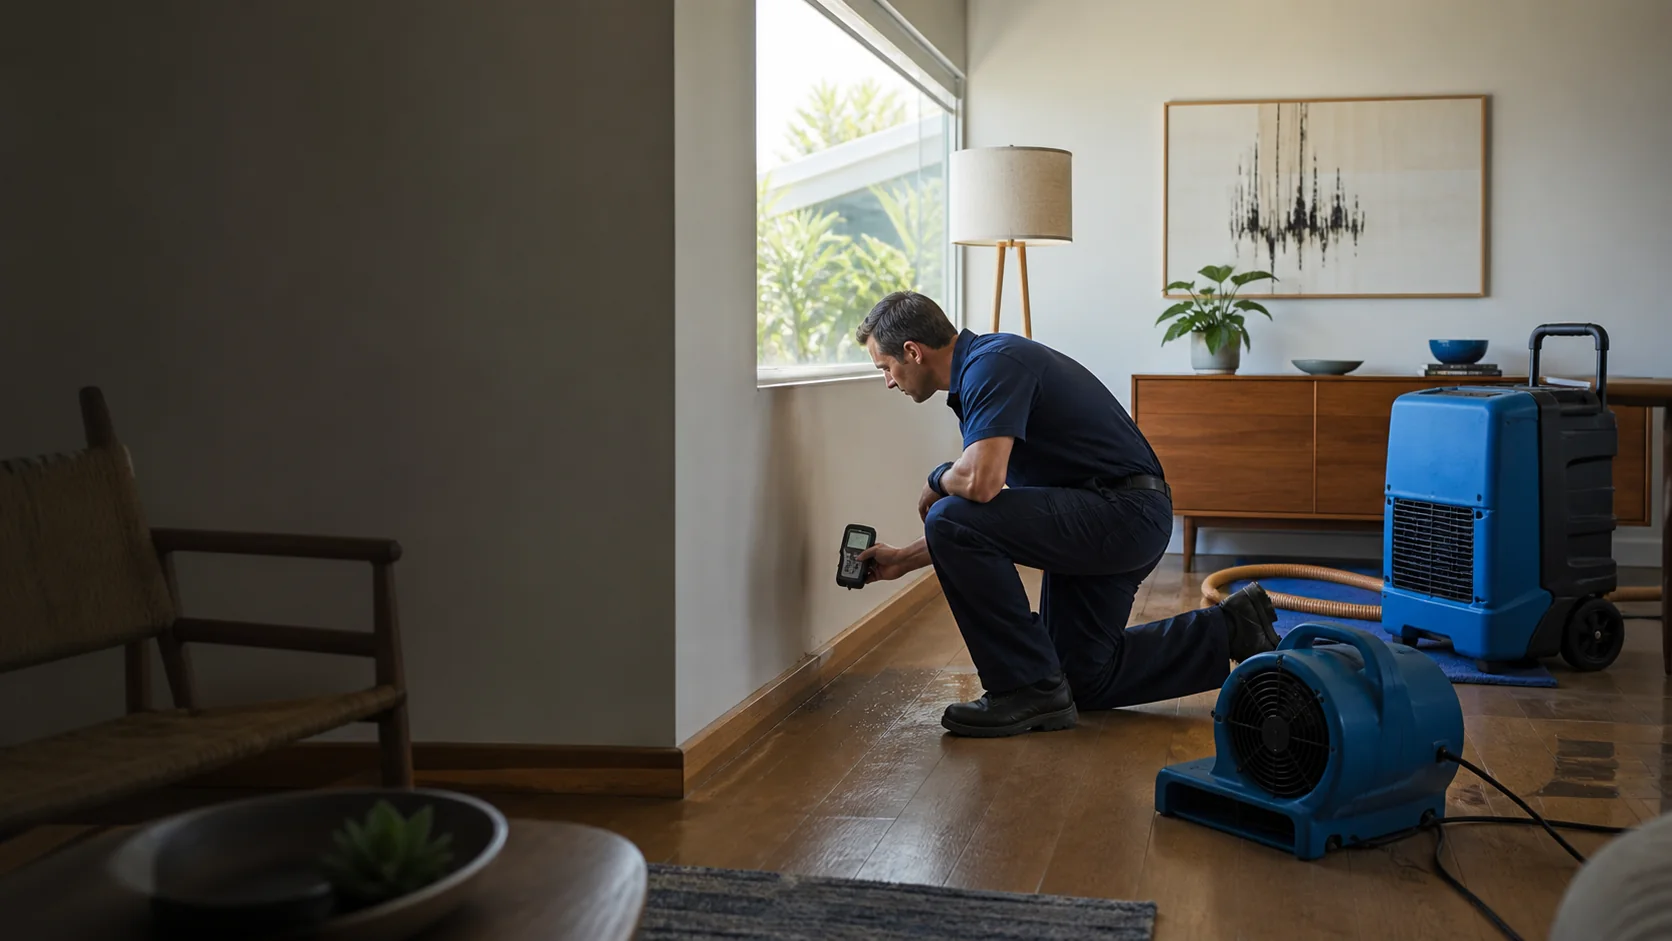
Stopping the release comes before detailed drying. Inspection follows the path through walls, floors, cabinets, ceilings, and adjoining rooms. Visual observations, moisture meters, and thermal imaging used as a screening aid help define the wet perimeter.
Step 3: water extraction
Pumps and extraction tools remove bulk water from hard surfaces, carpet, cushion, and other accessible materials. Extraction is valuable because liquid water takes far longer to remove by evaporation alone.
Step 4: material and contamination decisions
The source, time wet, condition, and material determine what can remain. Clean-water drywall may sometimes dry with controlled access. Sewage-affected porous material, deteriorated composites, or heavily damaged finishes may require removal.
Step 5: structural drying and monitoring
Air movers support evaporation; dehumidifiers remove moisture from air; filtration may control particulates; and access allows trapped areas to dry. Measurements should track change against appropriate dry comparison materials. Equipment is adjusted as the building responds.
Step 6: cleaning, closeout, and reconstruction
Salvageable surfaces and contents are cleaned according to the event. Once drying goals and source correction are documented, repairs can be scoped. A final walkthrough should address function, finish, cleanliness, equipment removal, records, and remaining owner questions.
- Ask who is responsible for the plumbing or roof repair.
- Ask how the wet perimeter was determined.
- Ask which readings define drying progress.
- Ask what material decisions are based on contamination or condition.
- Ask where mitigation ends and reconstruction begins.
How to apply this guide to a La Mesa property
The right response to water damage restoration process begins with conditions at the building, not a generic checklist alone. Note whether the source is a pressurized supply, fixture or drain, water heater, appliance, roof, outside runoff, or an unknown pathway. Then record every room or level that may connect to it. A slab-on-grade Fletcher Hills home, a historic Rolando cottage, a Mt. Helix hillside property, and an apartment near Date Avenue may show the same stain for very different reasons. That building context determines which professional should stop the source and which finishes need closer moisture assessment.
When you request help, describe what changed and when: active flow, meter behavior, odor, warm flooring, material swelling, ceiling movement, recent rain, drain response, or a prior repair. Share whether electricity, sewage, tenants, customers, valuable contents, or limited access are involved. This allows the first conversation to focus on hazards and source control before equipment or repair decisions. For this topic, the most directly connected service paths are Water Restoration, Water Extraction, Damage Repair. Each addresses a different phase, so ask who is responsible for source repair, mitigation, monitoring, cleaning, contents, and reconstruction.
Document the property before cleanup changes the scene. Take wide photographs, close views, and a short video that establishes the relationship between the source and affected rooms. Keep a timeline, receipts, removed parts, source-trade findings, moisture records, and written scopes. If insurance may be involved, report the event according to the policy and ask what the carrier needs before damaged material is discarded. A contractor can explain observed conditions and recommended work; only the carrier can interpret coverage.
Finally, use the repair phase to prevent a repeat. Confirm that plumbing, roofing, drainage, ventilation, or appliance corrections were tested before finishes close the assembly. Ask what measurements support dry-out, what materials were retained or removed and why, and how continuous flooring, cabinets, plaster, or historic finishes affect the repair boundary. A good restoration process makes uncertainty smaller at each step. It replaces assumptions with source findings, moisture evidence, material decisions, and a repair scope that begins only when the building is ready.
- Protect people before protecting finishes.
- Stop or isolate the source when that can be done safely.
- Map the water beyond the most visible mark.
- Separate emergency mitigation from permanent repair.
- Keep one organized record from discovery through closeout.
The bottom line
A good restoration process makes uncertainty smaller at each step. It replaces assumptions with source findings, moisture evidence, material decisions, and a repair scope that begins only when the building is ready.